
Affordable teleprompter setup with an iPad, Galaxy or other tablet and a passive teleprompter
June 30, 2022
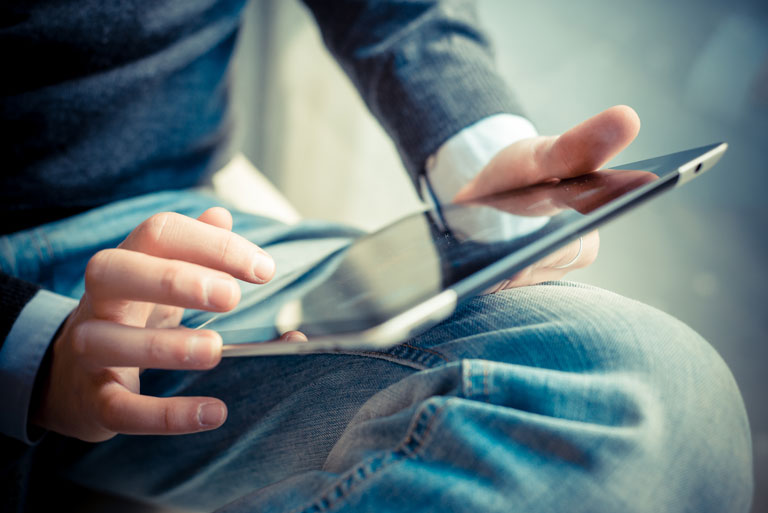
5 components for the perfect video recording with a teleprompter and tablet
Equipment is certainly not what determines the success or quality of a video – the content has to be right, of course.
But: bad equipment can devalue even the best content. Whether sales or training videos: hiss and crackle, poor lighting, a distracted presenter… all of that makes you look unprofessional and hurts your credibility.
To keep that from happening to you, I've put together the equipment I use myself. Some of it doesn't have to be expensive, but there are a few things you'd better not skimp on. Above all, that's sound quality, which in my experience matters more than the image itself.
So here is "my" equipment, with which I've produced over 200 videos so far. Good luck!
1. The teleprompter
As a teleprompter, we use a "device" from TeleprompterPad. I put the word "device" in quotation marks because it isn't really a device but rather a rig – a passive teleprompter – consisting essentially of a glass pane, some sheet metal and fabric.
As the playback device for my slides, I use a regular iPad. I mirror the PowerPoint presentation beforehand with PPT Mirror, creating a PDF file. I do have PowerPoint on my iPad, but I find it more convenient to work with a PDF file because I can play it e.g. in iBooks.
You can buy the teleprompter for 10-inch tablets (e.g. the standard iPad) here on Amazon; the one for 13″ tablets is available at this link.
Note: The links on this page are Amazon affiliate links, i.e. if you follow them and order the products on Amazon, we receive a small commission that also helps improve our software.
2. The camera
A good camera is important, although these days even the simplest smartphones deliver excellent footage. Almost more important than the camera, however, is the sound – the information in a video isn't carried by the image of the speaker but by what he or she says. People need to understand you clearly, and background noise should be avoided as much as possible. That's why it's important that a camera has a connector for an external microphone.
I use the Sony RX10 M3 camera. It produces an excellent image, has an HDMI output for a control monitor (I use a regular screen, which I turn off during the recording) – and above all, an input for an external microphone. The camera also mounts nicely on a standard tripod and fits into the teleprompter mentioned above. You'll find some notes on sound and a suitable microphone further below.
Recording tip: A neutral, white background is best so your viewers can watch the video without distraction. However, the camera then darkens the image because of the large white area, making the background rather gray and the subject in the foreground a bit too dark. So I set the exposure compensation to "+0.75" (i.e. three quarters of a stop brighter than the automatic setting). This exposes the shot a little brighter, the subject (me) is properly lit, and the background is white again (instead of gray).
3. The right lighting
The quality of a video recording depends heavily on even, balanced lighting. So you should use artificial light to avoid hard shadows, over- or underexposure and brightness fluctuations during the recording.
A "softbox" provides even illumination of the face; you should place one lamp a bit further away so that contours remain visible in the face. Two of these lights are enough to shoot an appealing video of a person speaking. You can additionally order spotlights for background lighting, among other things.
Link to the product: https://amzn.to/2sWmO9m
4. It all comes down to the sound
Almost more important than the image is the sound – after all, what are your viewers supposed to "take away"? The images normally underline what you say or what is being spoken. And with bad sound, it's no fun listening to you – viewers simply click away. That's why I strongly recommend working with an external microphone rather than "across the room" with the camera's built-in microphone.
If you film with a smartphone (iPhone, Samsung Galaxy), the Rode SmartLav lavalier microphone serves you well. It's an inexpensive yet high-quality microphone. You can add an extension cable if you're standing further away, saving you the expense of a wireless microphone system.
To use the Rode microphone with a "normal" camera (e.g. a video camera), this extension cable is recommended; it also includes the conversion to a normal three-pole jack plug. The Rode microphone has a four-pole plug, making it compatible with smartphones (which normally work with a headphone/microphone combination). This cable converts the signal to a normal three-pole plug as used in common cameras.
The pricier professional setup
If you want to dig a little deeper into your pockets, a Sennheiser wireless microphone system is a great choice. From around 500 euros you get a wireless set consisting of transmitter, receiver and a lavalier microphone. We use the Sennheiser EW 122 set.
And yes, there are cheaper microphones. After a while, though, you'll notice that background noise, hiss or crackle really do bother you – and then you end up paying twice. Consider that a hint from personal experience.
Tip: The closer a microphone is to the speaker, the better. Any background noise becomes quieter relative to the voice, and "echoing" is avoided. The voice sounds clear and natural rather than tinny. In terms of sound, a lavalier microphone is therefore the second-best solution. A headset or neckband microphone would be the best, but because of the look of the microphone in front of the mouth, it isn't as "pretty".
5. Remote control
Advancing slides during a video recording? Easy: with a foot switch.
A Bluetooth foot switch pairs effortlessly with your tablet and lets you switch to the next slide yourself during the recording. After a bit of practice (yes, you should practice using it), this throws you off far less than having a third person operate the prompter. You switch once you've grasped the slide's content and can already prepare mentally for the next slide.
The Bluetooth foot switch I've linked here is actually made for musicians (e.g. violinists) who digitally turn their sheet music pages on a tablet. That's why the buttons are especially quiet and don't disturb the recording with clicking sounds, for example.
Alternatively, you can simply use a Bluetooth remote control. I use a remote by Satechi because it's very small and handy, so it hardly shows when you switch to the next slide. A bit cheaper and made of plastic is this model. Both work; for outdoor shoots I use the remote control, indoors the foot switch.